Building An acquisition Funnel in React with Xstate - Part 2

Search for a command to run...
No comments yet. Be the first to comment.
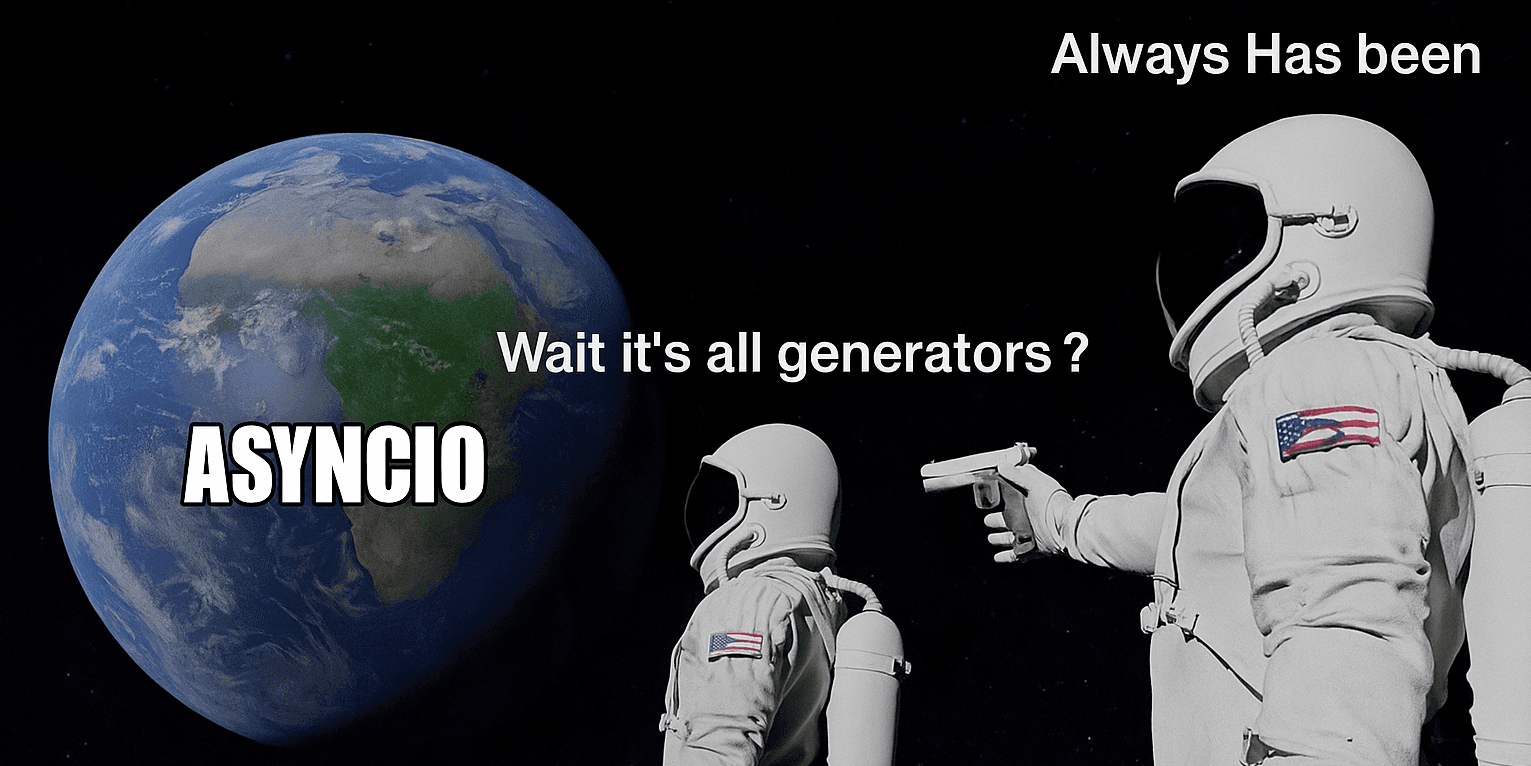
I don't know about you, but each time I await something in Python, I get a tiny itch in the back of my brain. Not because I don’t know what it does or how to use it, that part’s fine. I write my async defs, slap some await in there, and it just works...
A few days ago, I stumbled upon a thread talking about the trade-offs of squash-merging a PR VS creating a merge commit. One of the topics of discussion was whether or not reverting merge commits was possible. Here’s the thread in question: https://...

Introduction Authentication is something most web applications need, and that can be difficult to get right. Recently I had to implement it for a React app I was developing, and wanted to list the options available to me. So I did a bit of research ...

Note: This is part 4 of a multi-part tutorial on FastApi and React. If you want to start from the beginning (which I recommend!😉) here's part 1! Welcome to part 4 of this tutorial! Today we'll see how to connect a React app to our awesome FastAPI ba...

Forms are often tricky to get right with React. While there are great libraries like formik or React Final Form to do the heavy lefting for us, handling file upload still isn't always straightforward. In today's episode of React Tips & Tricks, we'll...

This is part 2 of a two parts article. If you haven't done it yet, checkout part one !
In part one, we used a strong programming pattern to model our funnel: a state machine. We also built a FunnelProvider that provides us with a flexible api to synchronize it with React.
Today we'll implement the actual steps of the funnel and see how we can update our state machine to store the data entered by the customer at each step.
As always the code we'll write in this article is fully available here. However if you feel like coding along you can start from where we left off by cloning the repository from part 1
As we did last time, let's start with a bit of state machine theory ! If you're in a hurry, and you just want to see how it's done, skip to the implementation. However understanding these concepts is a great step towards mastering this pattern and being able to apply it to more complex use cases.
We already know that a Finite State Machine (FSM) is defined by a set of States and Transitions, and can only be in one state at a time. But if we look at the Mathematical Definiton, there is one aspect we haven't talked about yet : the output function.
So what is the output function ?
Well, for our machine to be useful, it needs to yield an output. If we stick to maths, this output must be part of a finite output alphabet, usually a bunch of 0s and 1s if we're talking electronics. However, since we're using a programming language, this could be anything really. And that's where the output function comes in : It derives an output from the current state of the machine.
There are basically two ways of computing this output, which in turn define two kind of machines : the Moore Machine and the Mealy Machine.
The Moore Machine is the most straightforward type of finite state machine. Its current output is completely defined by its current state.

If you remember, this is the model we decided to use for our funnel. Indeed until now we were only concerned with building a machine able to display the correct succession of steps. A Moore machine was perfect for that because we simply needed to match each step of the funnel with a state of the machine.
However for ou funnel to be useful, we also need to collect data from our customers, which is part of the output of the machine. And this is were it gets tricky: there is an infinite amount of slightly different data that the customer might input, but our finite state machine is well... finite.
Actually if we added a maximum length to our input, there would be a finite amount of permutation. But this number would be huge and could not be realistically represented by a state machine !
So a Moore machine won't cut it, let's see how we can solve this problem !
Last time we also briefly mentioned the Mealy machine . It is quite similar to a Moore machine in that it's also defined by a set of states and transitions. However the output function is a bit different: the current output of a Mealy Machine depends both on the state and the input that triggers the transition. This greatly increases the number of possible outputs for the same amount of states, sometimes to the detriment of readability.

However, the amount of possible different outputs is still finite. In fact there is a compete equivalence between the Moore machines and the Mealy machines : It's possible to convert a Moore machine (and vice versa) by following the right algorithm
This means that a Mealy machine can't help us solves the problem, but it is worth mentioning as it's still a really useful model. Now let see what else is left ...
To solve our problem, we'll need to use the big gun : The Statechart.
So what is a statechart ? Well essentially it is a finite state machine with extended capabilities. Again it is defined by a set of states and transitions, but it also provides extra features :
Wait side effects ? Well that's exactly what we're looking for ! If each time we transition out of a step, we're able to store the user data somewhere as a side effect, our problem is solved !
So it's settled, let's up our game, and convert our Moore Machine to a State Chart. We'll see where the user data is stored in the next section. For now we only need to decide which actions to add, and where.
And the good news is: it's super easy ! We define exit actions on each state of the funnel. No matter with which transition we exit the state, we want to update the user data with the input from the step we're exiting. So we define three actions :
setActivity for setting the activity selected in step 1addAttendee for adding a new attendee each time we exit step 2setAdditionalInformation for setting the additional information entered in the optional stepWe could also handle POSTing the data to an API by taking when reaching the final state.
Now let's update our State machine implementation and apply the actions defined on our chart. I'd like to point out that thanks to our FunnelProvider we only need to update state-machine.ts, and the provider will take care of the rest ! That's what I love with the compound component pattern: it is super flexible !
The ouput of our state machine, which is the customer data, we'll be stored into the Xstate Context. This is exactly what we need as it was designed to hold quantitative data.
First let's defined its type in types.ts
#types.ts

# It is always good practice to use constant
# instead of raw strings
export const ESCAPE_GAME = "escape-game";
export const BOWLING = "bowling";

export interface Attendee {
  name: string;
  surname: string;
}

export type Activity = typeof ESCAPE_GAME | typeof BOWLING;

export interface FunnelData {
  activity?: Activity;
  attendees: Attendee[];
  additional_information?: string;
  payment?: number;
}
And add it to our state machine in state-machine.ts
export const stateMachine = Machine<FunnelData, FunnelEvent>(
  {
    id: "funnel-state-machine",
    initial: "activity",
    context: {
      activity: undefined,
      attendees: [],
      additional_information: undefined,
      payment: undefined,
    },
    states: {
      activity: {
        on: {
          SELECT_ACTIVITY: "register_attendee",
        },
      },
      register_attendee: {
        on: {
          ADD_ATTENDEE: "register_attendee",
          ADD_INFO: "additional_information",
          SUBMIT_ATTENDEE: "payment",
        },
      },
      additional_information: {
        on: {
          SUBMIT_ADDITIONNAL_INFORMATION: "payment",
        },
      },
      payment: {
        type: "final",
      },
    },
  }
);
Notice that we pass our FunnelData interface to the Machine constructor, which allows Xstate to type our machine correctly.
Now let's add the exit actions that we defined earlier. Xstate follows the state chart principles and allows to define actions that can be executed when entering or exiting a state node, or during a specific transition.
To modify the context we need to use assign actions, which let us modify the context.
First let's define the setActivity action
# state-machine.ts

const setActvity = (context: FunnelData, event: ActivityEvent) => {

  return {
    ...context,
    activity: event.data,
  };
};
Now that looks great, but if we use it as is in the machine, Typescript will raise an error, because there is no guarantee that this action will always be called with the ActivityEvent.
That means we need to narrow the type of the event before using it :
#state-machine.ts

const setActvity = (context: FunnelData, event: FunnelEvent) => {
  if (event.type !== SELECT_ACTIVITY) {
    return context;
  }
  return {
    ...context,
    activity: event.data,
  };
};
Those of you familiar with Redux will find some similarities with a reducer.
Now let's finish creating the actions :
#state-machine.ts

const addAttendee = (context: FunnelData, event: FunnelEvent) => {
  switch (event.type) {
    case ADD_ATTENDEE:
      return {
        context,
        attendees: context.attendees.concat(event.data),
      };
    case SUBMIT_ATTENDEE:
      return {
        context,
        attendees: context.attendees.concat(event.data),
      };
    case ADD_INFO:
      return {
        context,
        attendees: context.attendees.concat(event.data),
      };
    default:
      return context;
  }
};

const setAddtionalInformation = (context: FunnelData, event: FunnelEvent) => {
  if (event.type !== SUBMIT_ADDITIONNAL_INFORMATION) {
    return context;
  }
  return {
    ...context,
    additional_information: event.data,
  };
};
And now let's add theses actions to our machine. In each state node we define the corresponding exit actions
#state-machine.ts

export const stateMachine = Machine<FunnelData, FunnelEvent>(
  {
    id: "funnel-state-machine",
    initial: "activity",
    context: {
      activity: undefined,
      attendees: [],
      additional_information: undefined,
      payment: undefined,
    },
    states: {
      activity: {
        on: {
          SELECT_ACTIVITY: "register_attendee",
        },
        exit: ["setActivity"],
      },
      register_attendee: {
        on: {
          ADD_ATTENDEE: "register_attendee",
          ADD_INFO: "additional_information",
          SUBMIT_ATTENDEE: "payment",
        },
        exit: ["addattendee"],
      },
      additional_information: {
        on: {
          SUBMIT_ADDITIONNAL_INFORMATION: "payment",
        },
        exit: ["setAdditionalInformation"],
      },
      payment: {
        type: "final",
      },
    },
  },
  {
    actions: {
      setActivity: assign(setActvity),
      addattendee: assign(addAttendee),
      setAdditionalInformation: assign(setAddtionalInformation),
    },
  }
);
you'll notice that the actual implementation with the call to assign is defined in a second parameter to the Machine constructor. This is because Xstate is designed to produce fully serializable state chart definitions, keeping them agnostic from the actual implementation.
And we're already done with the machine ! Again, thanks to our FunnelProvider we know that this will work as designed. The only thing left to do is to implement the steps, and use our render prop pattern to send the data along with the event type !
The steps we build here will be designed to be completely unaware of the funnel itself. Each step will only have one responsibility : render a form and call the callback we pass it as props on submission. This Separation of Concern makes our project more stable, and our component more reusable.
Even though we haven't actually implemented the steps yet, we'll start by adding them to the funnel. That way we can clearly see what props we need to pass to our components !
import React from "react";
import FunnelProvider from "./acquisition-funnel/FunnelProvider";
import StateRenderer from "./acquisition-funnel/StateRenderer";
import ActivityStep from "./acquisition-funnel/steps/ActivityStep";
import AttendeeStep from "./acquisition-funnel/steps/AttendeeStep";
import AdditionnalInformationStep from "./acquisition-funnel/steps/AdditionalInfomationStep";
import { stateMachine } from "./acquisition-funnel/state-machine";
import {
  SELECT_ACTIVITY,
  SUBMIT_ADDITIONNAL_INFORMATION,
} from "./acquisition-funnel/types";
import "./App.css";

function App() {
  return (
    <div className="App">
      <FunnelProvider stateMachine={stateMachine}>
        <StateRenderer state="activity">
          {(send) => (
            <ActivityStep
              onSubmit={(activity) => {
                send({
                  type: SELECT_ACTIVITY,
                  data: activity,
                });
              }}
            />
          )}
        </StateRenderer>
        <StateRenderer state="register_attendee">
          {(send) => (
            <AttendeeStep
              addAttendee={(attendee) =>
                send({ type: "ADD_ATTENDEE", data: attendee })
              }
              addInfo={(attendee) => send({ type: "ADD_INFO", data: attendee })}
              proceedToPayment={(attendee) =>
                send({ type: "SUBMIT_ATTENDEE", data: attendee })
              }
            />
          )}
        </StateRenderer>
        <StateRenderer state="additional_information">
          {(send) => (
            <AdditionnalInformationStep
              onSubmit={(info) =>
                send({
                  type: SUBMIT_ADDITIONNAL_INFORMATION,
                  data: info,
                })
              }
            />
          )}
        </StateRenderer>
        <StateRenderer state="payment">
          {() => {
            return <h2>payment</h2>;
          }}
        </StateRenderer>
      </FunnelProvider>
    </div>
  );
}

export default App;
What is important to note here is that we never pass the send function directly to the steps themselves. Instead, to keep things separate, we define the appropriate callbacks in order to have a clean API for each of our components.
Finally let's build the steps ! When we're done with this part the funnel will be fully functional (well except for the payment part, but we'll leave that for another day 😉)
To make our life easier, we'll use Formik to handles everything form related. If you haven't heard of it yet, it's an awesome library designed to make form building absolutely painless !
Let's start with the activity step :
import React from "react";
import { Activity, ESCAPE_GAME, BOWLING } from "../types";
import { Form, Field, ErrorMessage, Formik } from "formik";

interface ActivityStepProps {
  onSubmit: (activity: Activity | "") => void;
}

interface FormValues {
  activity: Activity | "";
}

const ActivityStep: React.FunctionComponent<ActivityStepProps> = ({
  onSubmit,
}) => {
  return (
    <Formik
      onSubmit={(values: FormValues) => onSubmit(values.activity)}
      initialValues={{ activity: "" }}
    >
      <Form>
        <h2>Pick an activity </h2>
        <ErrorMessage name="activity" />
        <label>
          <Field name="activity" type="radio" value={ESCAPE_GAME} />
          Escape Game
        </label>
        <label>
          <Field name="activity" type="radio" value={BOWLING} />
          Bowling
        </label>
        <button type="submit"> Next </button>
      </Form>
    </Formik>
  );
};

export default ActivityStep;
And the AddtionalInformationStep :
# AdditionalInformationStep.ts
import React from "react";
import { Form, Field, ErrorMessage, Formik } from "formik";

interface AdditionalInformationStepProps {
  onSubmit: (activity: string) => void;
}

interface FormValues {
  additionalInformation: string;
}

const AdditionalInformationStep: React.FunctionComponent<AdditionalInformationStepProps> =
  ({ onSubmit }) => {
    return (
      <Formik
        onSubmit={(values: FormValues) =>
          onSubmit(values.additionalInformation)
        }
        initialValues={{ additionalInformation: "" }}
      >
        <Form>
          <h2>Enter additional information</h2>
          <ErrorMessage name="additionalInformation" />
          <label>
            <Field name="additionalInformation" />
          </label>
          <button type="submit"> Proceed to Payment </button>
        </Form>
      </Formik>
    );
  };

export default AdditionalInformationStep;
Notice how we don't have to think about the funnel at all ! We juste need to use our callback functions.
This step is a tad more complex as we need to manage 3 different buttons. As such we won't use the form submission directly. Instead we'll create our own event Handler to call the corresponding callback with the form values depending on the button.
That's how it looks :
import React from "react";
import { Attendee } from "../types";
import { Field, ErrorMessage, Formik } from "formik";

interface AttendeeStepProps {
  addAttendee: (attendee: Attendee) => void;
  proceedToPayment: (attendee: Attendee) => void;
  addInfo: (attendee: Attendee) => void;
}

const AttendeeStep: React.FunctionComponent<AttendeeStepProps> = ({
  addAttendee,
  proceedToPayment,
  addInfo,
}) => {
  return (
    <Formik
      onSubmit={(values) => {
        proceedToPayment(values);
      }}
      initialValues={{
        name: "",
        surname: "",
      }}
    >
      {({ values }) => (
        <div>
          <h2>Pick an activity </h2>
          <ErrorMessage name="activity" />
          <label>
            <Field name="name" />
            Name
          </label>
          <label>
            <Field name="surname" />
            Surname
          </label>
          <div>
            <button
              onClick={() => {
                addAttendee(values);
              }}
            >
              Submit and add another
            </button>
            <button
              onClick={() => {
                proceedToPayment(values);
              }}
            >
              Proceed to payment
            </button>
            <button
              onClick={() => {
                addInfo(values);
              }}
            >
              Enter additional information
            </button>
          </div>
        </div>
      )}
    </Formik>
  );
};

export default AttendeeStep;
That's it for the attendee registration step !
And we're finished ! If you made it here congrats 🥳 Your funnel should be fully functional, and it should look something like this :
In this gif I display the context content to make it clearer what is happening behind the scenes

I deployed this demo to Github Pages, you can try it out here !
This concludes our two parts article on how to build an acquisition funnel using a state machine ! I hope you enjoyed it, you should now be well equipped the next time you're asked to build on of those !
This was my first experience with writing, and I must say I really loved it ! I intend to continue and I welcome any feedback you may have. See you next week for another article !